
Blog 2 -- Building a simple web app with Flask
A web app allows users to interact with the program by taking user input and producing output. With the flask package, we can build a simple message board where users can input messages and view a random selection of past messages. The code below are snippets from a .py file. We also need a templates folder containing .html templates, which the code below will render. The full repository is available through this link.
First, we import the requisite packages and initialize our Flask app.
from flask import Flask, g, render_template, request
import sqlite3

app = Flask(__name__)
The Flask process contains an attribute g, which can store our message database. We implement this database through sqlite3, as seen in the last blog post. The function get_message_db() creates a database with three columns (id, handle, and message) if it doesn’t already exist, and returns the database.
def get_message_db():
    if 'message_db' not in g:
        # initialize database connection if not already
        g.message_db = sqlite3.connect("messages_db.sqlite")
        cursor = g.message_db.cursor()
        # populate with 3 columns, specifying data type
        cursor.execute("""
        CREATE TABLE IF NOT EXISTS messages(
            id int,
            handle varchar(255),
            message varchar(255)
        )""")
    return g.message_db
The function insert_message(request) grabs the messages from a form that users fill up, and INSERTs it into the database. We set the id column to be the current number of rows of the database to avoid duplicates.
def insert_message(request):
    msg = request.form['message']
    hnd = request.form['handle']
    db = get_message_db()
    cursor = db.cursor()
    cursor.execute("SELECT COUNT(id) FROM messages")
    # set id as number of rows of messages
    id = cursor.fetchone()[0]
    cmd = """
    INSERT INTO messages (id, handle, message)
    VALUES (""" + str(id) + """,' """ + hnd + """','""" + msg + """')
    """
    cursor.execute(cmd)
    db.commit()
    db.close()
    return msg, hnd
The function random_messages(n) takes n random messages from our database, and returns them.
def random_messages(n):
    db = get_message_db()
    cursor = db.cursor()
    cursor.execute("SELECT * FROM messages ORDER BY RANDOM() LIMIT " + str(n))
    m = cursor.fetchall()
    db.close()
    return m
After defining the database functions, we can work on the structure of our web app. The @app.route keyword specifies the page’s location in relation to our web app, and we can also specify methods to deal with both inputs and outputs to the user.
@app.route('/', methods=['POST', 'GET'])
def submit():
    if request.method == 'GET':
        return render_template('submit.html')
    else:
        insert_message(request=request)
        return render_template('submit.html', thanks=True)
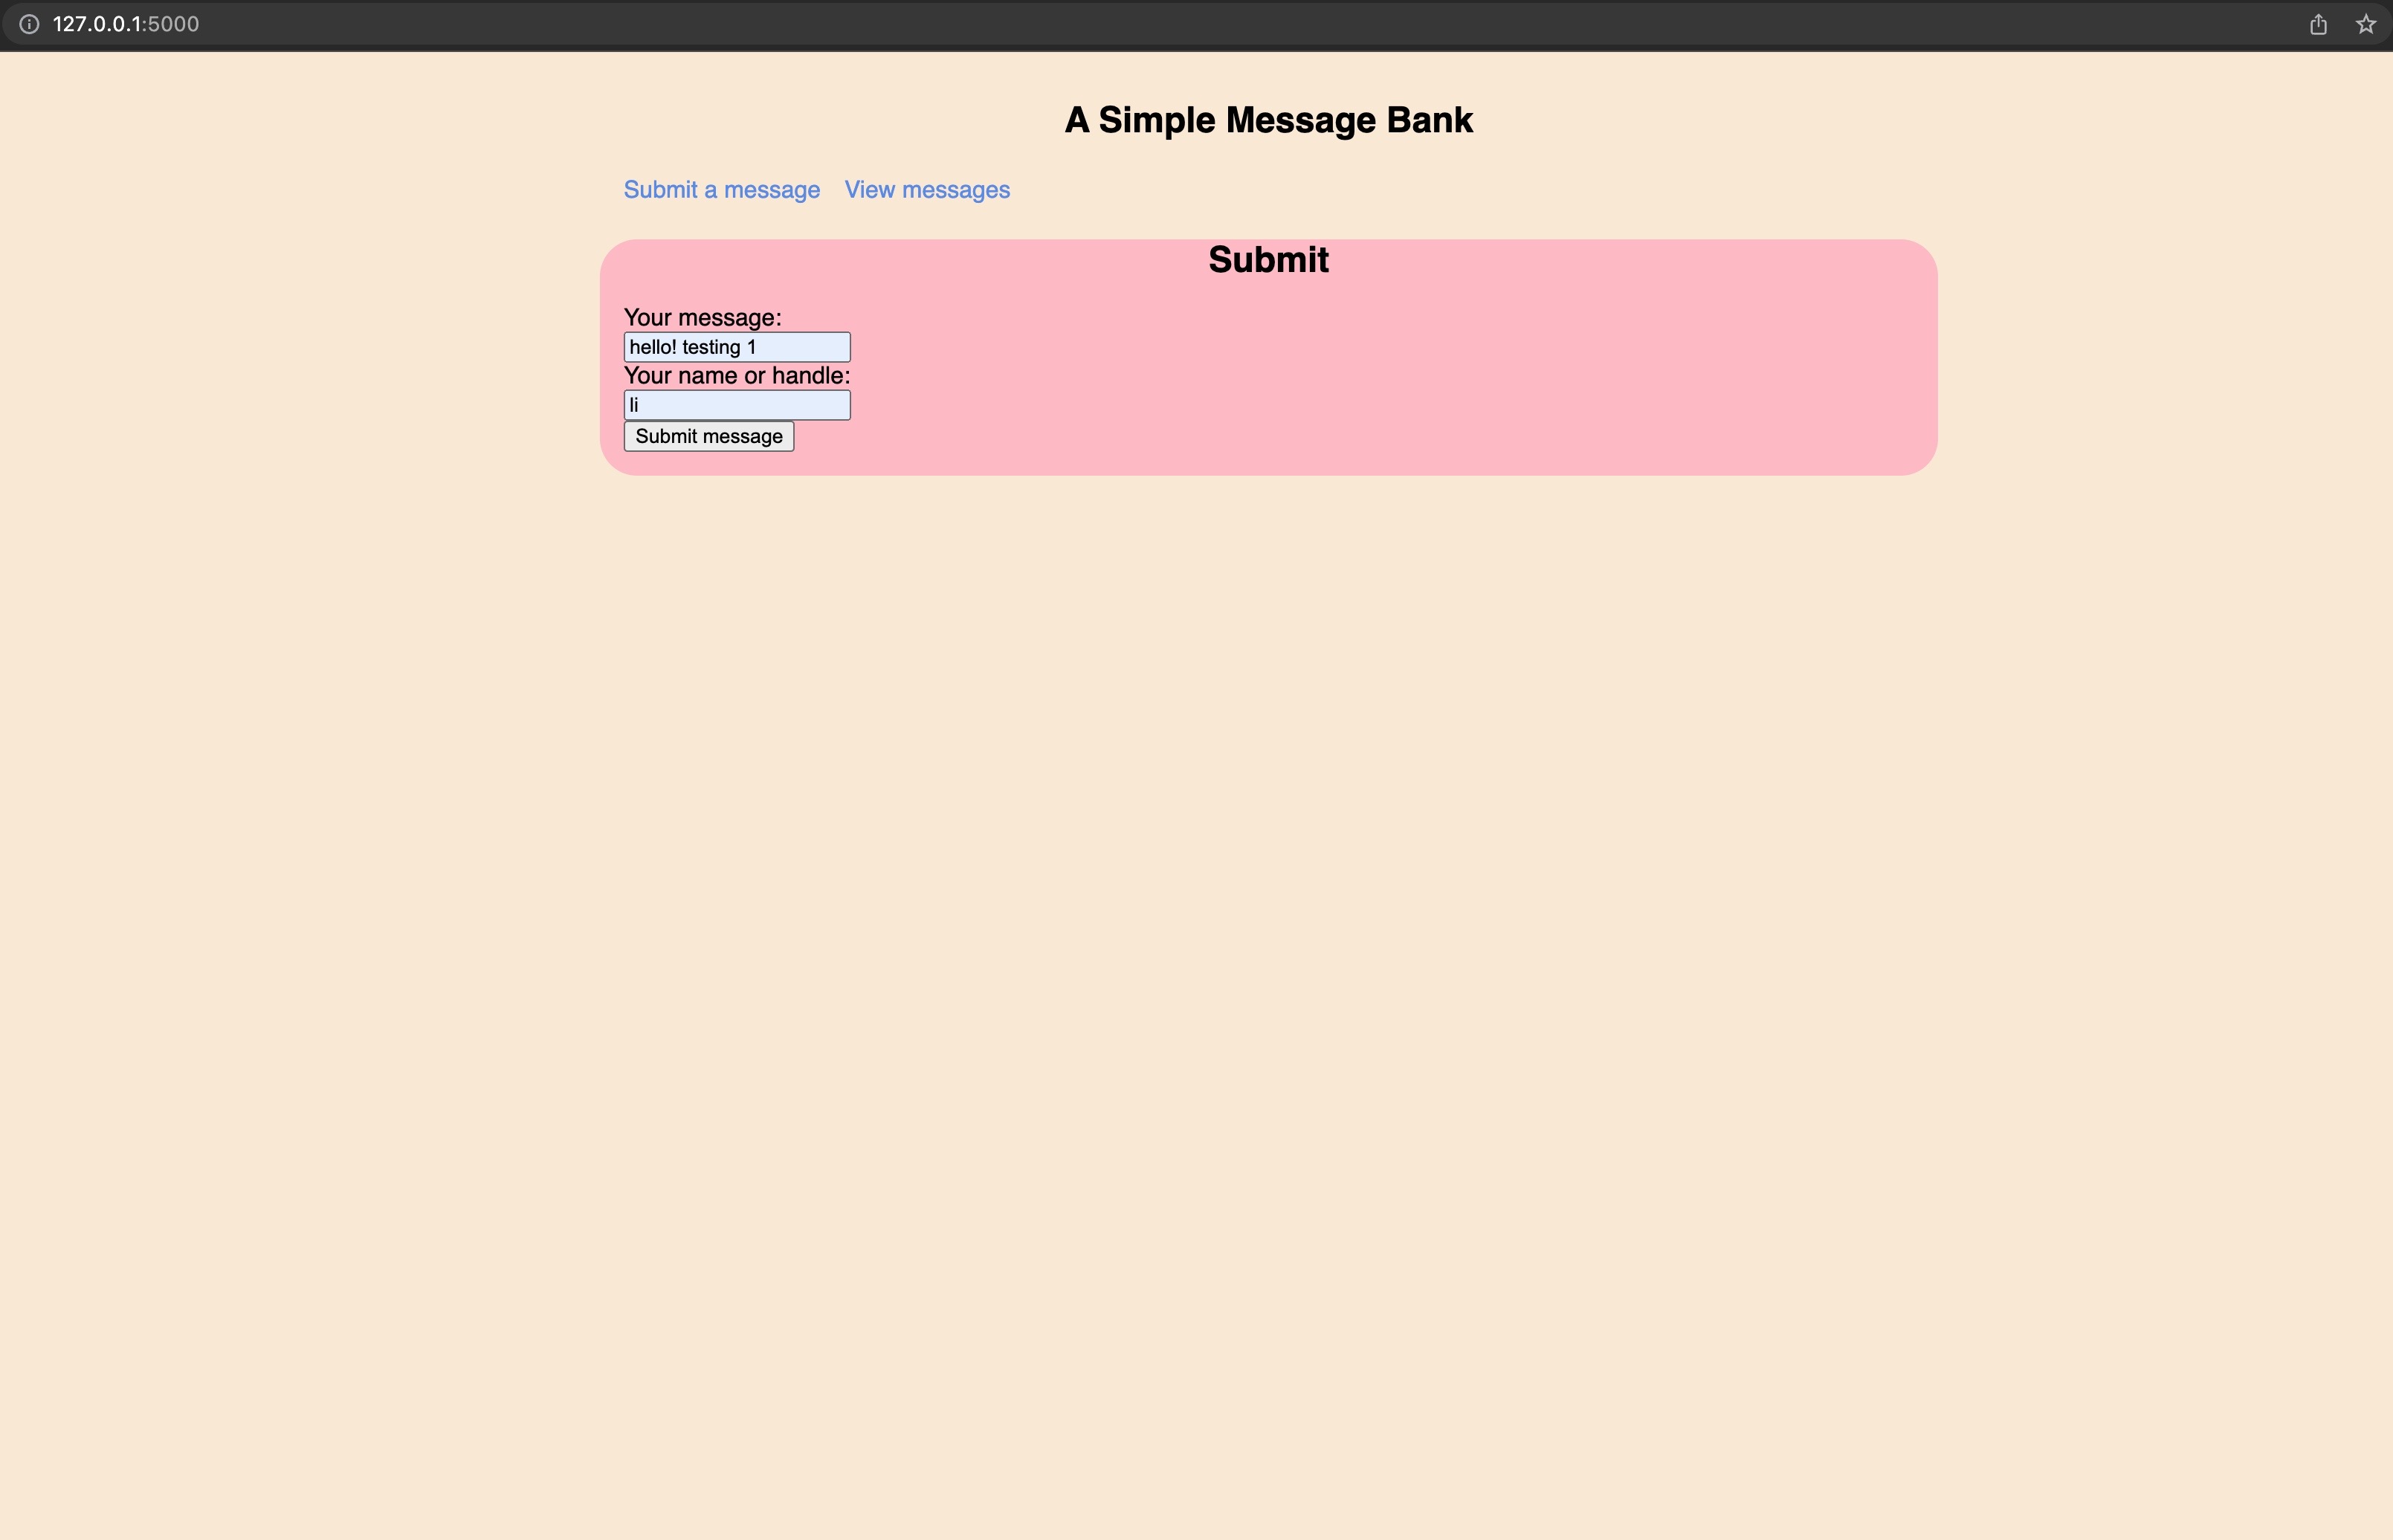
Our landing page is for submitting messages. The GET method is for getting user input, and just renders the HTML template submit.html, which allows for submissions. Then, the POST method inserts the user input into our database using our function defined above, and sets thanks=True, which we can use in our template to modify behavior. Speaking of, here’s the submit.html template:
{% extends 'base.html' %}

{% block header %}
  <h2>{% block title %}Submit {% endblock %}</h2>
{% endblock %}

{% block content %}
  <form method="post">
    <label for="message">Your message: </label><br>
    <input type="text" name="message" id="message"><br>
    <label for="handle">Your name or handle: </label><br>
    <input type="text" name="handle" id="handle"><br>
    <input type="submit" value="Submit message">
  </form>

  {% if thanks %}
    Thanks for submitting a message!
  {% endif %}

{% endblock %}
The submit page takes on the base elements (title, styles, navigation bar) from base.html via the extends keyword. It also renders the input fields and displays a thank-you message depending on the thanks option in the render_template function. Here’s how it looks:
@app.route('/view/')
def view():
    m = random_messages(2)
    return render_template('view.html', disp=m)
Besides the submission page, we also have a page for viewing messages. We thus define the view function that calls random_messages() and renders the template view.html. Here’s how the view page looks.

Along with the template folder, we also have a CSS style sheet under a static folder. Here, we can modify the appearance of the webpage. I changed the background of the view page’s messages section to pink and the text to green. I think it looks nice.